Apple Filling To Use In Cookies and Pastries
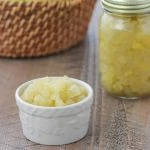
A sweet, tart and juicy apple filling perfect to use in cookies, pastries and as a topping for oatmeal, yogurt or ice cream. This is a quick and easy stovetop recipe, that you can make it in advance.
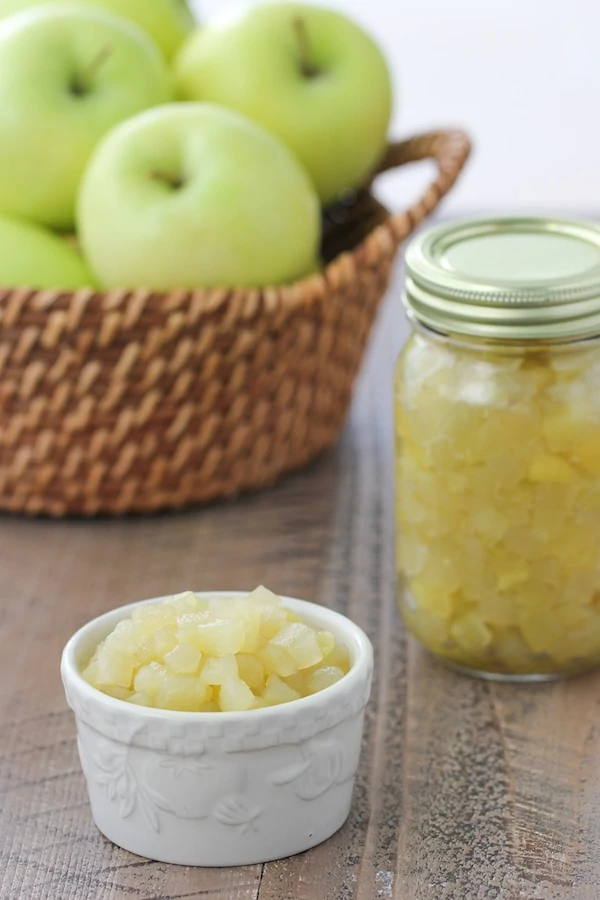
Apple desserts are one of my favorites. It’s actually impressive how many ways this humble fruit can be prepared. This is a really easy recipe for an Apple Filling that can be used right away or made in advance to use in many different ways.
It’s not too sweet (you can adjust the sweetness to your taste preference), it’s juicy and just a bit tart. I think the lemon juice and vanilla are the perfect flavor additions to this simple Apple Filling.
Some of my favorite recipes where I use this apple filling are Apple Pie Cookies, Apple Puff Pastries and Apple Bulochki.
What Apples Are Best For Apple Filling
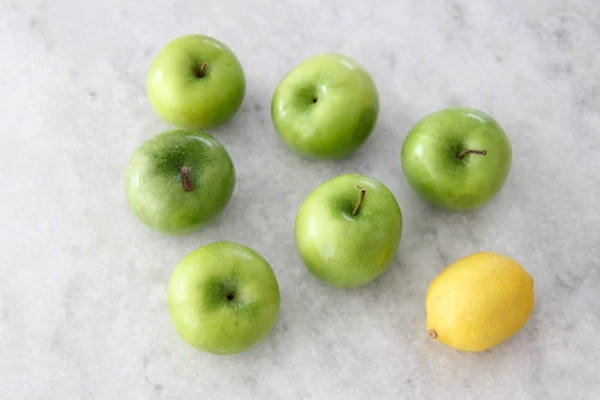
You can use many kinds of apples or even a combination of different varieties. I prefer Granny Smith apples because they are tart and have the perfect texture. They won’t turn to mush when you cook them.
How To Make the Apple Filling
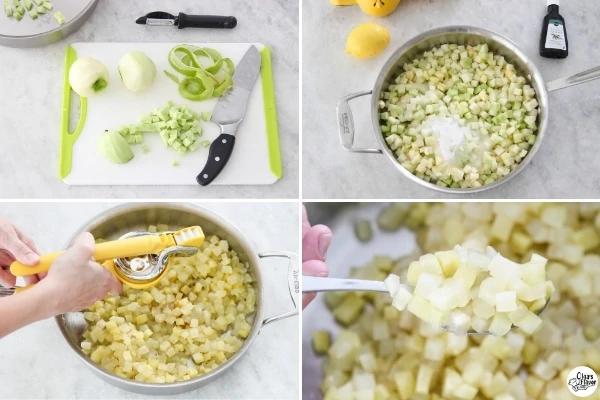
- Peel and chop the apples.
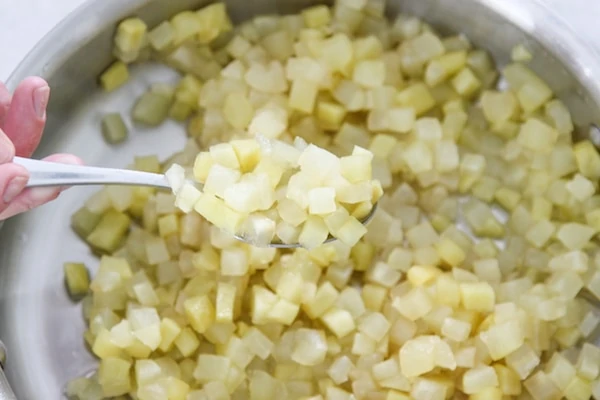
- Cook the apples with the sugar in a large rimmed skillet until the apples are soft and cooked though, about 10 minutes, in a covered skillet.
You don’t need to add any butter or water. The apples will exude a lot of moisture as they cook and the sugar will melt, so the’re no need to add anything to the apples.
3. Take the apple filling off the heat and add the lemon juice and the vanilla extract. You can also add some cinnamon, if you’d like.
4. Cool. Store the apple filling in the refrigerator, if you make it in advance, for up to 5 days.
Preserving the Apple Filling
If you want to make a large batch to have on hand, sterilize the glass jar and lid, add the filling to the jar, seal with the lids and place the jar with the apple filling in a pot with boiling water, covering the jars by at least 1 inch. Cook for 10 minutes. Lift out of the pot and cool. It will be shelf stable for months.
Freezing Apple Filling
This Apple Filling freezes really well too and it’s so convenient to have on hand for quick desserts or to use as a topping.
Place the prepared Apple Filling into a freezer ziplock bag or an airtight container and freeze up to 3 months.
PrintApple Filling
A sweet, tart and juicy apple filling perfect to use in cookies, pastries and as a topping for oatmeal, yogurt or ice cream. You can make it in advance and store in the refrigerator or can it to make it shelf stable.
- Prep Time: 10 mins
- Cook Time: 15 mins
- Total Time: 25 mins
- Yield: 3 cups 1x
- Category: Miscellaneous
Ingredients
- 6 large Granny Smith apples (about 2 lbs)
- 1/2 – 3/4 cup sugar (or to taste)
- juice from 1 lemon
- 2 teaspoons vanilla extract
Instructions
- Peel and chop the apples.
- Add the apples and the sugar to a skillet. You don’t need to add any butter or water. The apples will exude a lot of moisture as they cook and the sugar will melt, so the’re no need to add anything to the apples. Bring to a boil on medium high heat.
- Reduce to a simmer, and cook, covered, for about 10 minutes, until the apples are soft.
- Take off the heat and add the lemon juice and vanilla. You can also add some cinnamon.
- Cool. Store the apple filling in the refrigerator for up to 5 days.
- If you want to make a large batch to have on hand, sterilize the glass jar and lid, add the filling to the jar, seal with the lids and place the jar with the apple filling in a pot with boiling water, covering the jars by at least 1 inch. Cook for 10 minutes. Lift out of the pot and cool. It will be shelf stable for months.
- You can also freeze apple filling. Place the cooked Apple Filling in freezer ziplock bags or into airtight containers. Freeze up to 3 months.

Oksana
My mom has always left her apples “raw” whens she made bulochki. Does sauteing the apples soften them?
olgak7
Yes, it will soften them. However, the biggest benefit is that as the apples cook, they exude a lot of liquid, which will cook down and then you can also flavor the apple filling with lemon juice, vanilla and even cinnamon.
Maryana
So excited to make the piroshki. Thank you olga. I also did your poached salmon with cheese with flounder and like you said, i cooked the onions separately and it worked out so well for me since I am not a fan of salmon. Hubby loved it too. Thanks!
olgak7
That’s great! I’m so glad to hear that.
Marina
I love love love this recipe!! Thank you Olga, all your recipes are amazing!
olgak7
Thank you, Marina.
Olga S
Perfect!
Chris
Can I swap lemon for orange juice
olgak7
I haven’t tried it myself, but I don’t see why it wouldn’t work. I think lemon pairs better with apples, but if you’d rather use orange juice, you can do that.