Kotleti Po-Kievski – Куриные Котлеты По-Киевски
Chicken Kiev is a popular chicken dish made with pounded chicken breast and flavored butter inside. It’s a delicious and beautiful, great for special occasions. I wanted to combine the same flavors and make it into an easy weeknight dinner option.
I’ve shared my recipe for Chicken Kotleti before. Let me tell you, I make Chicken Kotleti on a regular basis. Both my husband and I really like them, so that’s what I used for this recipe as well. I made a flavored butter with roasted garlic (so you don’t walk around with garlic breath the rest of the day. Your family members and friends will appreciate this:). With some fresh herbs, dill and parsley, these are definitely the tastes of Russia. Dill and garlic? You know I’m right:).
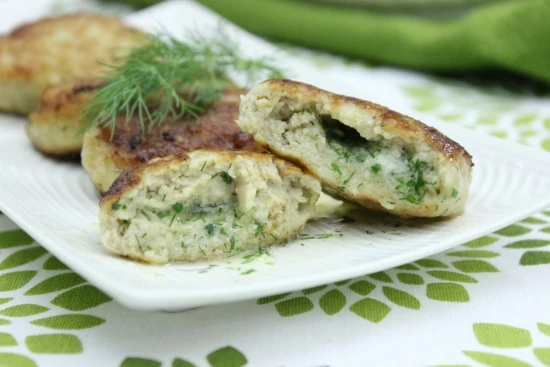
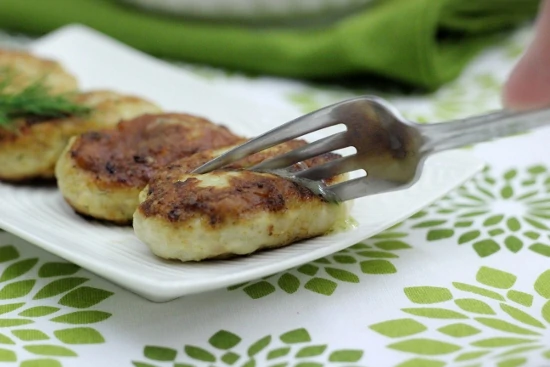
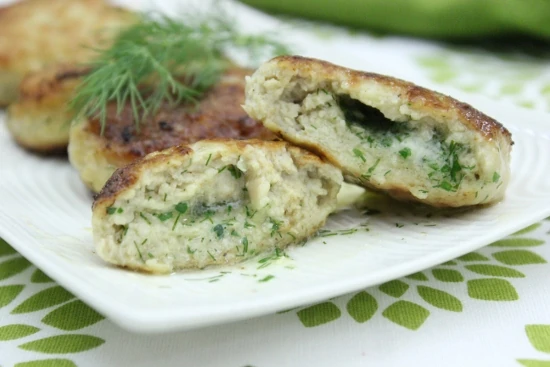
When you put your fork into the kotleta and break it in half, the melted yummy butter will ooze out. Wow! The aroma that wafts out is so fragrant and it tastes even better than it looks.
For the flavored butter:
Make the flavored butter first, since it needs time to firm up.
Roast the garlic in a skillet or wrap it in aluminum foil with a bit of oil and roast in a 400-degree oven until soft. 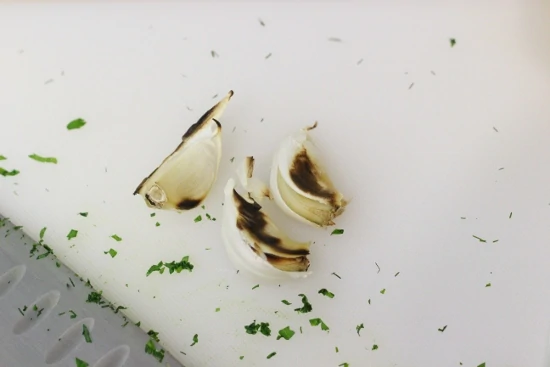
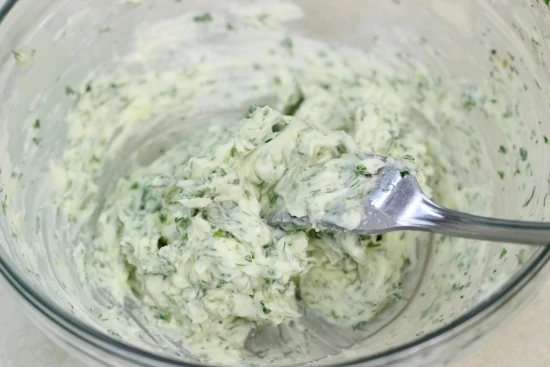

You can make this flavored butter ahead of time and store it in the freezer for several months.
For the Chicken Kotleti:
Meanwhile, mix all the ingredients for the kotleti.
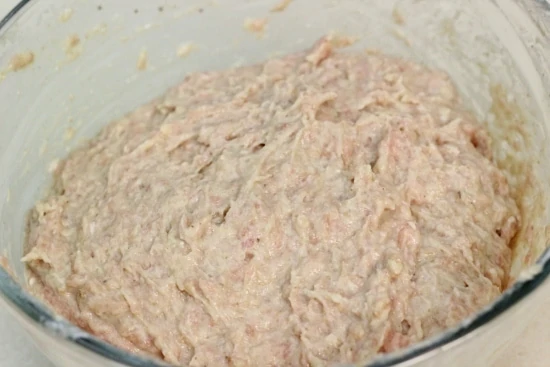
Soak the bread in the milk until soft. Pulse in the food processor. You can also puree the onions in the food processor or use a box grater. Add to the ground chicken. Add the egg, sour cream, salt and pepper. Mix to combine. The meat mixture will be very soft.
To assemble and cook:
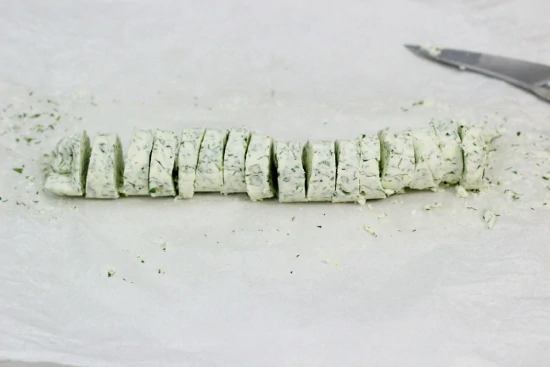
Cut the butter into approximately 16 pieces.
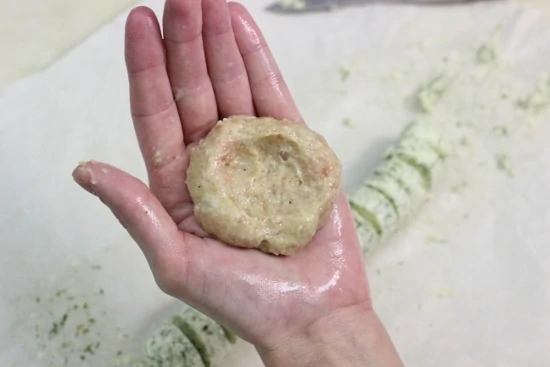
Use damp/moistened hands to shape the kotleti, otherwise they will be too soft to handle. Keep moistening your hands every time you make another kotleta.
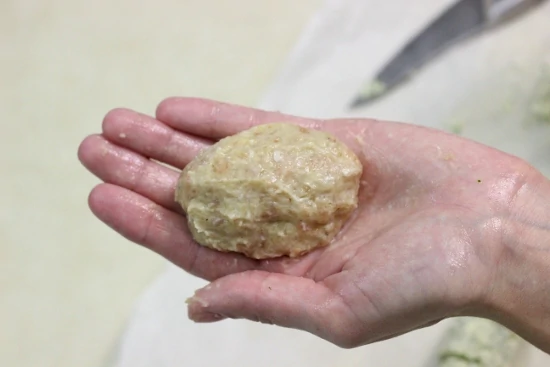
Take a portion of meat, form it into a meatball and make an indentation in the center. Place the flavored butter into the indentation.
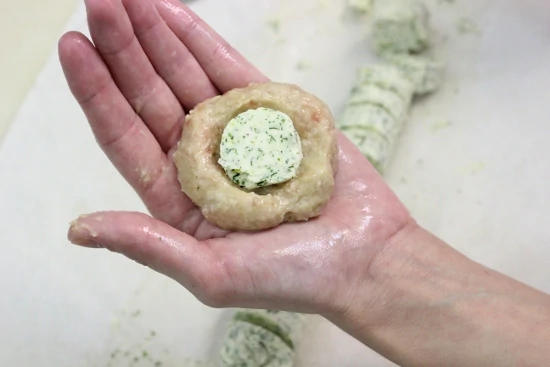
Make sure to have a good amount of meat mixture all around the butter, or else it will leak out and you’ll have a hole in the center of your kotleta and no yummy filling.
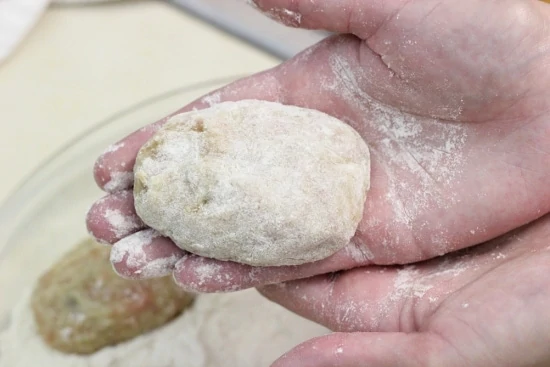
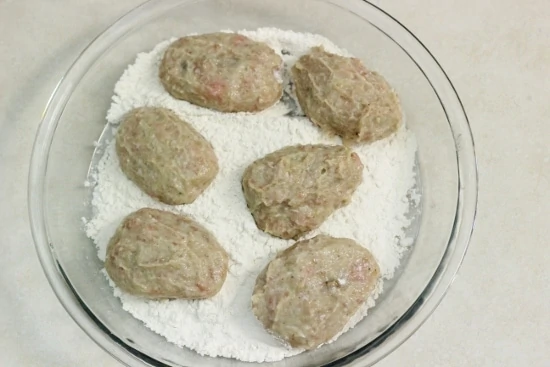
Dredge the kotleta in the flour, brushing off the excess. Repeat with the remaining meat and butter. You should have approximately 16 kotleti.
- 1 lb ground chicken
- 1 slice Italian bread, toasted
- ¼ cup milk
- 1 small onion, grated
- 1 egg
- 2 Tablespoons sour cream
- 1 teaspoon salt
- ½ teaspoon pepper
- 6 Tablespoons butter softened
- 3-5 garlic cloves, roasted
- 1 Tablespoon fresh dill, minced
- 1 Tablespoon fresh parsley, minced
- ⅓ teaspoon salt
- ¼ teaspoon ground black pepper
- Make the flavored butter first, since it needs time to firm up.
- Roast the garlic in a skillet or wrap it in aluminum foil with a bit of oil and roast in a 400-degree oven until soft.
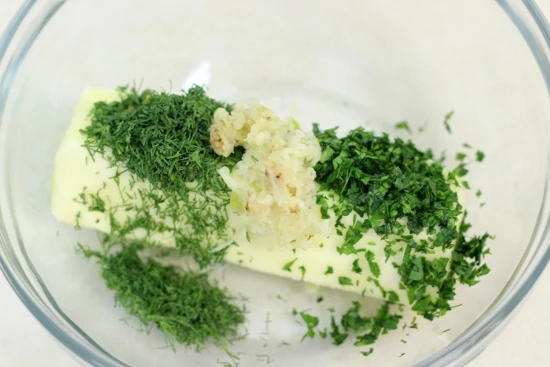
- Press the roasted garlic cloves through a garlic press or mash with a fork. Combine all the ingredients for the flavored butter until evenly mixed.
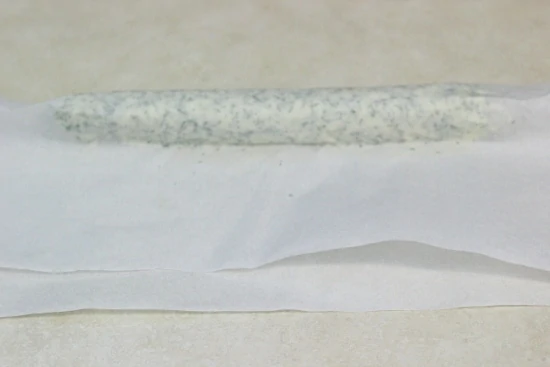
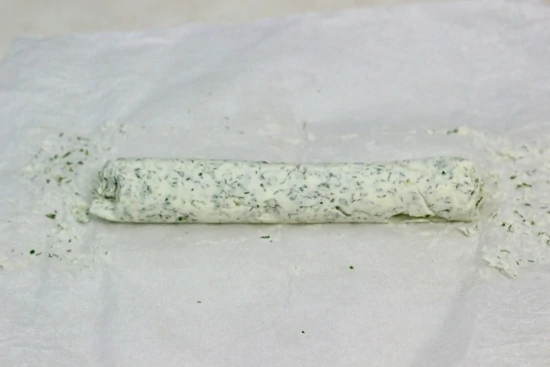
- Form a log shape in between a piece of parchment paper. Wrap the parchment paper around the butter.
- Place the butter in the refrigerator or freezer and chill until completely firm. You can make this flavored butter ahead of time and store it in the freezer for several months.
- Meanwhile, mix all the ingredients for the kotleti.
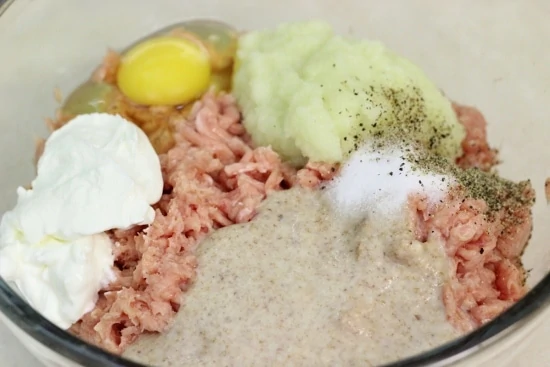
- Soak the bread in the milk until soft. Pulse in the food processor. You can also puree the onions in the food processor or use a box grater. Add to the ground chicken. Add the egg, sour cream, salt, and pepper. Mix to combine. The meat mixture will be very soft.
- Cut the butter into approximately 16 pieces.
- Use damp/moistened hands to shape the kotleti, otherwise, they will be too soft to handle. Keep moistening your hands every time you make another kotleta.
- Take a portion of meat, form it into a meatball and make an indentation in the center. Place the flavored butter into the indentation.
- Take the edges and cover the butter with the meat. Shape into an oval. Make sure to have a good amount of meat mixture all around the butter, or else it will leak out and you'll have a hole in the center of your kotleta and no yummy filling.
- Dredge the kotleta in the flour, brushing off the excess. Repeat with the remaining meat and butter. You should have approximately 16 kotleti.
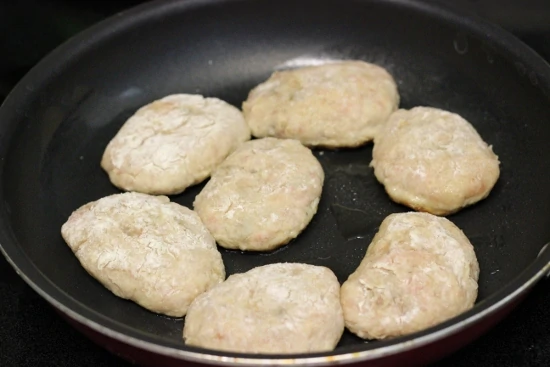
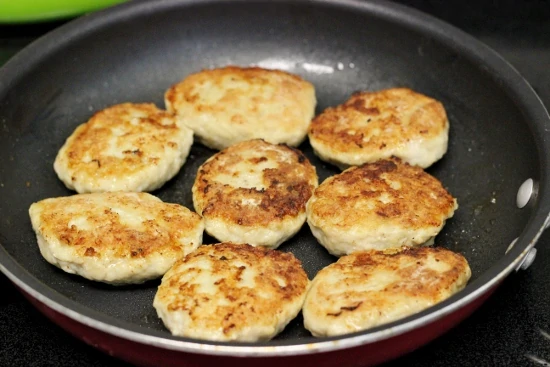
- Heat 1 Tablespoon of oil in a nonstick skillet over medium heat. Add the kotleti and cook until golden on both sides, approximately 3-5 minutes per side.

Nadia
Yumm… I love kotleti and this variation sounds so good!! Great job Olga!!
Alina
Would you recommend using ground turkey?
olgak7
Hi Alina,
I am not a fan of ground turkey, but if you like the taste, you can certainly use it.
Victoria
Oh, wow!!!
Another great recipe! Thank you, Olga!
Julie
Olichka thank you for wonderful recipes, I feel like your my long time friend now, so funny how I got connected with you, with out ever seeing you in real world! ….anyways…
I have a question about ground chicken, do you make it yourself or you buy it? If I make it myself, what is the best part or combination to use? What parts of chicken that is… Thanks dear!
olgak7
Hi Julie,
I am so thrilled to hear that; I always try to be down to earth and relatable:).
In regards to ground chicken, I like to use dark meat and white meat both, usually 60% dark meat and 40% white meat. Grinding your own meat is awesome. I think it tastes so much better, has a better texture and I feel so much better knowing exactly what is inside my meat.
Julie
Thanks, wonderful! I am just now starting to make these! Will do the same thing with the meat! Thanks again dear!
Tiffany
Can you put the assembled kotleti in the fridge and cook later, or should they be cooked right away?
olgak7
You can keep them in the fridge, Tiffany.
Erin Lozowski
I made these for my family tonight. I must say I had quite the difficulty with rolling the meat and filling it. For some reason mine was very very wet and was a struggle. The end result wasn’t perfect but it tasted fantastic! My whole family enjoyed it making the frustration (and a few tears) worth it!
olgak7
That is normal, Erin. That’s what makes the kotleti very juicy. However, something else to think about is that I grind the chicken myself, so it is a bit firmer than the store bought ground chicken.
Tzivia
Wow these look really way good and super yummm, but, was wondering if u know of a go
Tzivia
Sorry wasn’t finished my phone was a little bit wacky lol. Anyhoo, was wondering what would make a really good substitute for the filling of the kiev kotleti. I’ve had garlic butter, just not with meat, since @ a religious jew, I don’t mix meat and milk, so if u have any ideas for a different filling seriously lemme know thanx luv. If not I can always make these with ground cod and use the butter filling for that. U definitely should write a cookbook.
Marina
Curious as to why all of the other questions were answer except this one? We’ll I can answer for you, you can use margarine in place of butter as with most recipes you’d like to make kosher.
olgak7
Because I am only one person and sometimes don’t see all the questions. Thank you for your help.
Barbara Rita
you can tell I am pmyalplanning the the help of you site 😉 – will be making these kotleti kiev (I love chicken Kiev – made it once or twice many many years ago) – the cheese crusted baked salmon and on Sunday the Cordon Blue which looks mouthwateringly beautiful! Have a lovely weekend!
olgak7
I’m so happy to hear that, Barbara. I think it’s awesome that some of my recipes caught your eye and are going on your menu plan. I really hope you will enjoy them.
Mila
Olga,
I’ve been following your website for years now. Yesterday I hosted a dinner party and made this recipe as well as your garlic braised chicken recipe. Everyone absolutely loved it! Thank you for sharing your recipes with us!
olgak7
That’s wonderful, Mila! I’m so happy to hear that. Thanks for taking the time to write.
Richard osterhout
Olga, we love your site, and have tried almost all of your russian recipes. I have study russian history and absolutely love to cook. Is it possible to include nutritional information with your recipes. Please keep the old tired and true family recipes going. Thank you, Richard