Crispy Buffalo Chicken Wings
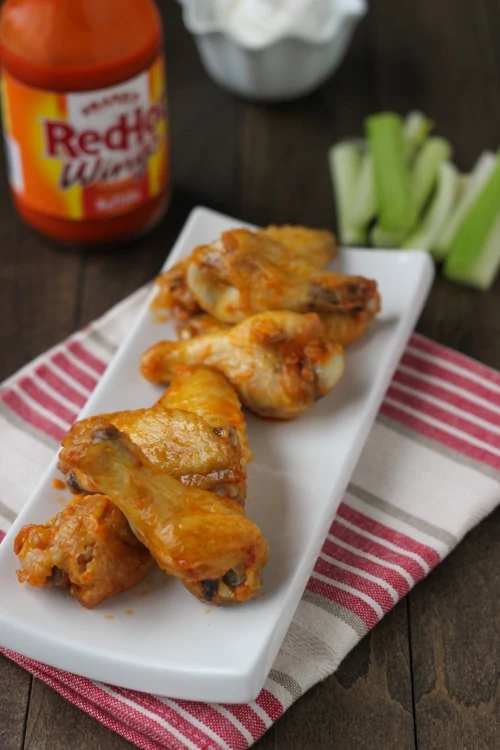 One of my pet peeves is soggy, flabby chicken wings. The best wings are definitely in New York, where they are fried, not baked. In Florida, I don’t think I’ve ever eaten good chicken wings. Every time we order some, it’s such a disappointment, we just stopped. For some reason, they are always baked. Not my idea of a good wing.
When I watched Alton Brown preparing chicken wings and promising that they would be crispy, I knew I had to try it. His method is so unique, that it’s just fun to do. When we tried the wings with my husband and later served it to both our families on several occassions, everyone agreed that these were the best wings ever.
Crispy on the outside, moist meat on the inside, with a spicy, garlicky sauce to coat it. And guess what? You don’t need a fryer! That’s right, these wings are baked! I never thought crispy wings could be achieved in the oven, but with a little knowlege and just a wee bit of patience, you’ll be crunching on some wings in no time.
Yields: 24-28 wings
Ingredients:
12-14 whole chicken wings
4 Tablespoons of butter
1 small garlic clove, minced
1/4 cup hot sauce
salt, pepper
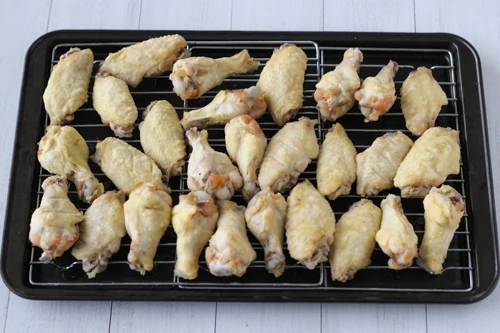
Start by preparing the chicken wings. 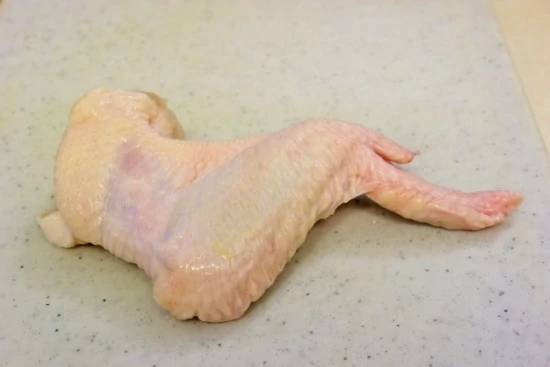


Crispy Buffalo Chicken Wings
- Prep Time: 30 mins
- Cook Time: 60 mins
- Total Time: 1 hour 30 mins
- Yield: 24-28 wings 1x
- Category: Appetizer
Ingredients
- 12–14 whole chicken wings
- 4 Tablespoons of butter
- 1 small garlic clove, minced
- 1/4 cup hot sauce
- salt, pepper
Instructions
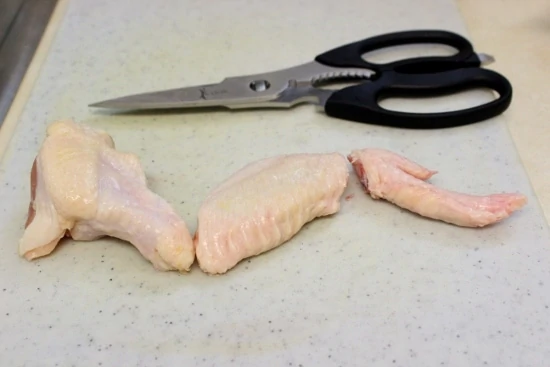
- Start by preparing the chicken wings. Separate the wings at the joint and remove the tip. I like using kitchen shears for this, but a sharp chef’s knife works well too. You can save the wings tips to use next time you make delicious homemade chicken broth:).
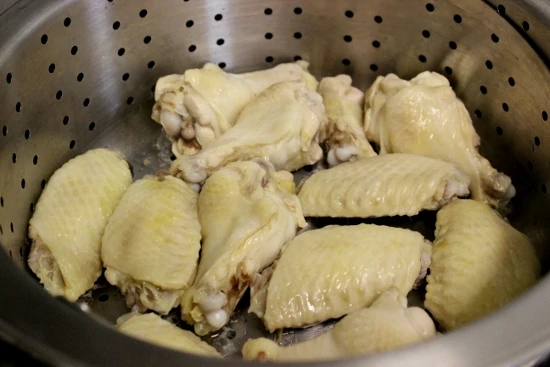
- Place the chicken wings in a steamer basket over 1-2 inches of water and steam for 10-15 minutes.This process with render off some of the fat from the chicken skin on the chicken wings, which is the first step to crispy wings.
- Place the steamed wings on a rimmed baking sheet lined with a paper towel on top of a cooking rack. Place in the refrigerator for at least an hour. Air drying the chicken will also promote crispiness. The dry skin will become crisp faster. During baking rendered fat and juices make the skin flabby and by first steaming the wings and then air drying, we resolved these problems.
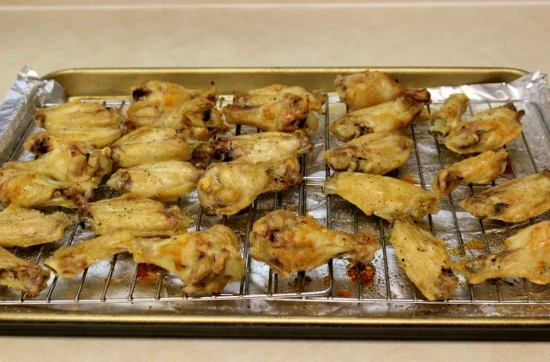
- Preheat the oven to 400 degrees. Discard the paper towel under the cooking rack and replace with aluminum foil. Season the chicken wings with salt and pepper.
- Bake the chicken for 20 minutes, turn the chicken over and bake for another 20 minutes on the other side.
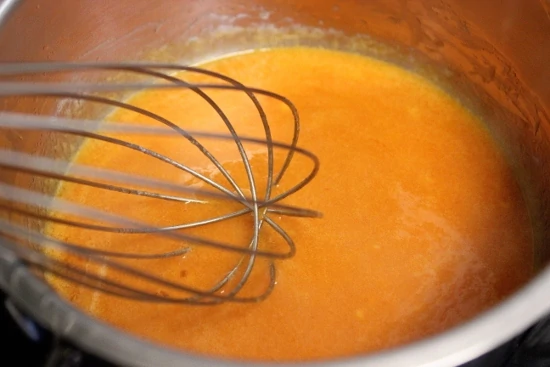
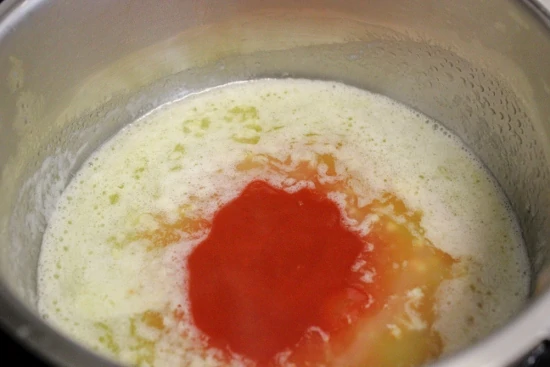
- When the chicken is almost done, melt the butter in a small saucepan, add the garlic, cook just until it’s beginning to send an aroma, about 30 seconds. Pour into a large bowl with 1/4 teaspoon salt and hot sauce.


Iren
This sounds really good, it does takes some time but I really wanna try them. Olga did you say 20 min for each side?
anna
goona try 4 sure
alana
Hey Olichka Can i use wingets? They smaller version of wings? If that ,akes any sence lol:)
olgak7
Alana,
You can use either part of the chicken wing. Just make sure to have the same amount of wingettes as whole wings.
Masha
Wings were good and crispy! thank you for the recipe!
olgak7
Thanks, Masha! I’m so glad you enjoyed them:).
Natasha
Hi Olga, could I refrigerate over night?
olgak7
Yep!That’s a really convenient idea and that’s what I usually do myself, Natasha. That way, they are ready to be cooked the next day.
Natasha
Thank you so much! I’ll try that! By the way, I wanted to thank you for all the wonderful recipes that you share! I made Easy Baked Chicken Wings (Куриные Крылышки) today and it was a big hit!
olgak7
It’s a big hit in our house every time too:). I’m so thrilled that you enjoyed it too.
Anna
Is hot sauce kind of like barbecue sauce or does it have to say hot sauce when you buy it?
olgak7
No, Anna, hot sauce is not barbecue sauce. Usually, it will say hot sauce on the bottle, or buffalo wing sauce, or hot pepper sauce. My personal favorite is Frank’s hot sauce, the original kind.
mrachka
Thank You for sharing this recipe. They are so delicious, my hubby love them. I have made this recipe like a dozen of times. Thank you so much again. God Bless You !!!
Zoya
Is there any way to make these ahead of time?
Thanks,
Zoya
olgak7
Unfortunately, no. You can steam and air dry the chicken wings ahead of time, but you need to serve them right after baking them. They will not be crispy if you make them ahead of time.
Anna
I have same question as one person already asked, 20min per side?
if that is so, how does this only take 1hr 30 min to make… kind of missled me there, didnt read instructions all the way before starting and by the time they were done everyone was starving.
THanks for the recipe though, i have been trying to figure out a way to make them crispy like at wing stop, this seems to work good 🙂
olgak7
I’m sorry to hear that, Anna! That’s always so frustrating when everyone’s starving and the food isn’t done.
I count the active cooking/prepping time. So, I don’t count the time that the food is marinating, rising, or anything else that takes time, but doesn’t actually involve me doing anything.
Also, while the chicken is baking, I use the same time to make the sauce, not extra time after it’s baked to make the sauce. I hope that helps. It’s always so tricky to figure out the cooking time to put in my recipes.
Another thing to keep in mind is that usually a recipe will take longer to make the first time you make it, even if it’s really easy. At least it does for me.
anna
i dont have a steamer basket, is there anything else i can use?
natalya
thank you so much for this recipe! i love it! i made them several times and they always turn out amazing:)
i do change the sauce depending on what we feel like, but normally i dip them in barbecue sauce
olgak7
That’s great, Natalya.
We like using barbecue sauce on these chicken wings too sometimes.